Our Work
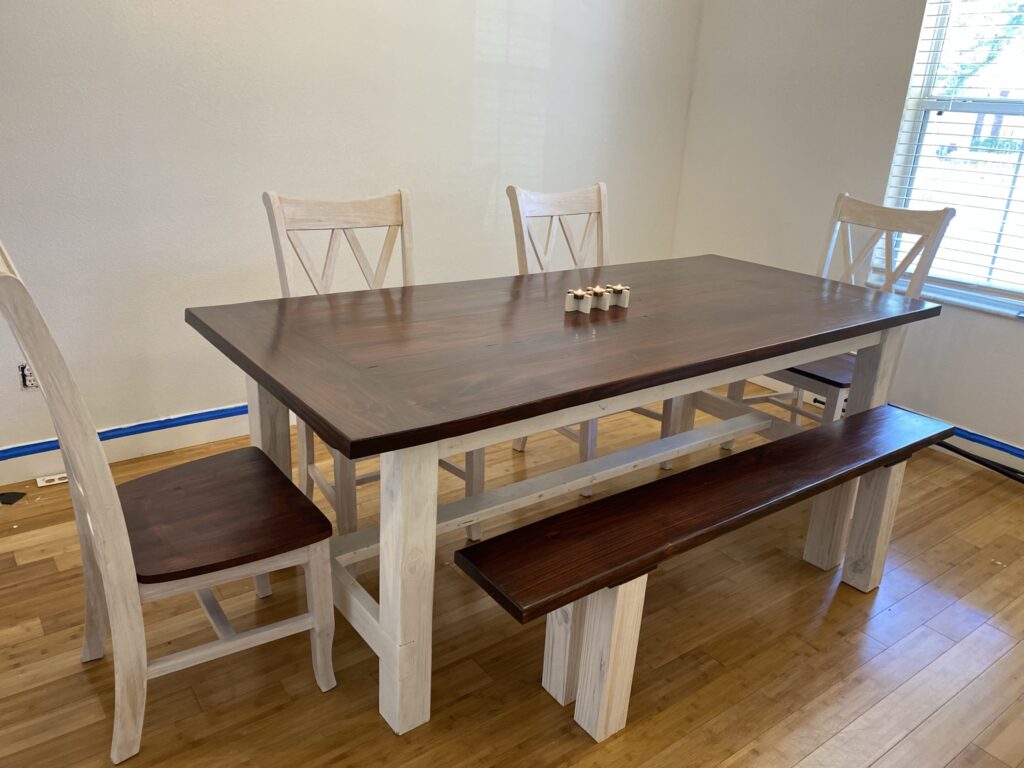
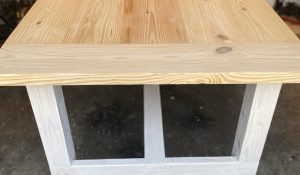
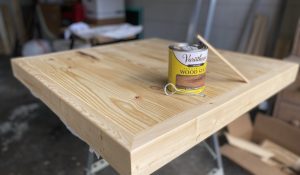
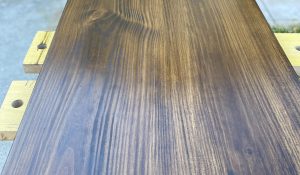
A dear friend of mine was moving to a new place and he really liked the dining room table he had in the old house. I asked him if he wanted me to I would build one for him with basically the same set up. A country / barn style table with 4 chairs and a barn-style bench. He told me what kind of stain he wanted, he was looking for a pop in the wood so we went with a darker stain for the table with a white stain to help with the constrast.
This table measures 84 inches long and 38 inches wide. Definitely enough for 6 or 8 comfortably. As a last minute add on I created the tea-light holder from a design I found online. I thought the tea-lights made it all come together.
We also created a tea-light holder and stained it to match!
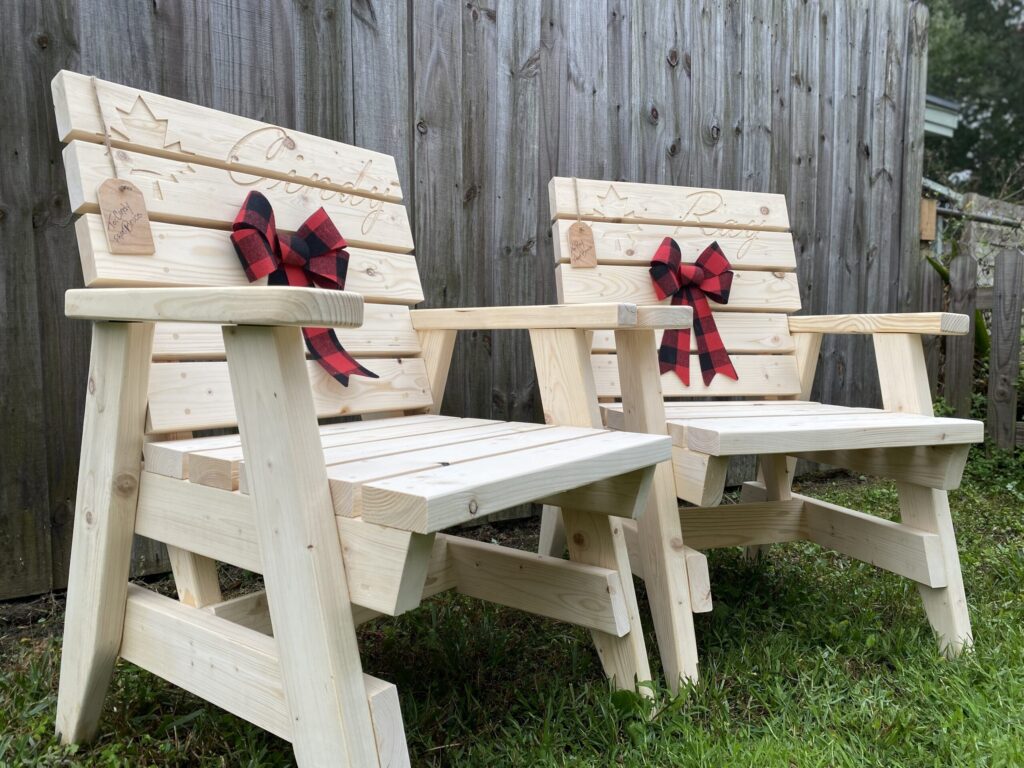
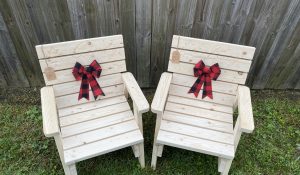
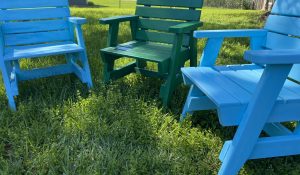
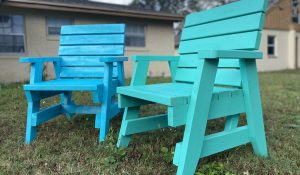
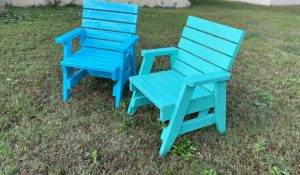
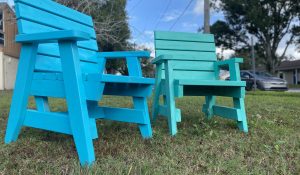
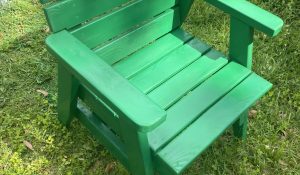
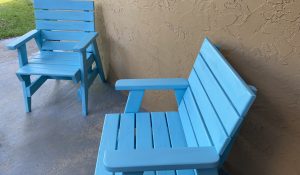
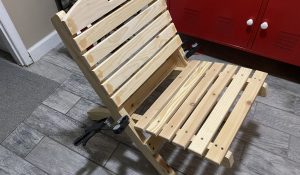
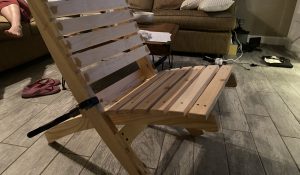
One of my favorite places to go on the weekend is New Smyrna Beach. In early 2021, my mother and I had the opportunity to go to New Smyrna Beach. We walked up and down Flaggler Avenue and we came across a coffee shop with these amazing chairs! I sat in each of them and could not believe how comfroatble they were. They have a high flat back and the arm rests are in the perfect position.
I took as many pictures as I could before anyone asked any questions. I took the pictures home and sort of designed them from the pictures. I had a bunch of 2 x 4 scrap wood and so I went ahead and built my first chair. Later on I found out that there are actual plans on the internet so I compared mine to theirs. I was very close and am very happy with the outcome. This is the reason I call them “New Smyrna Chairs”, because I saw them first in New Smyrna Beach. So far, this has been a favorite among many of our clients.
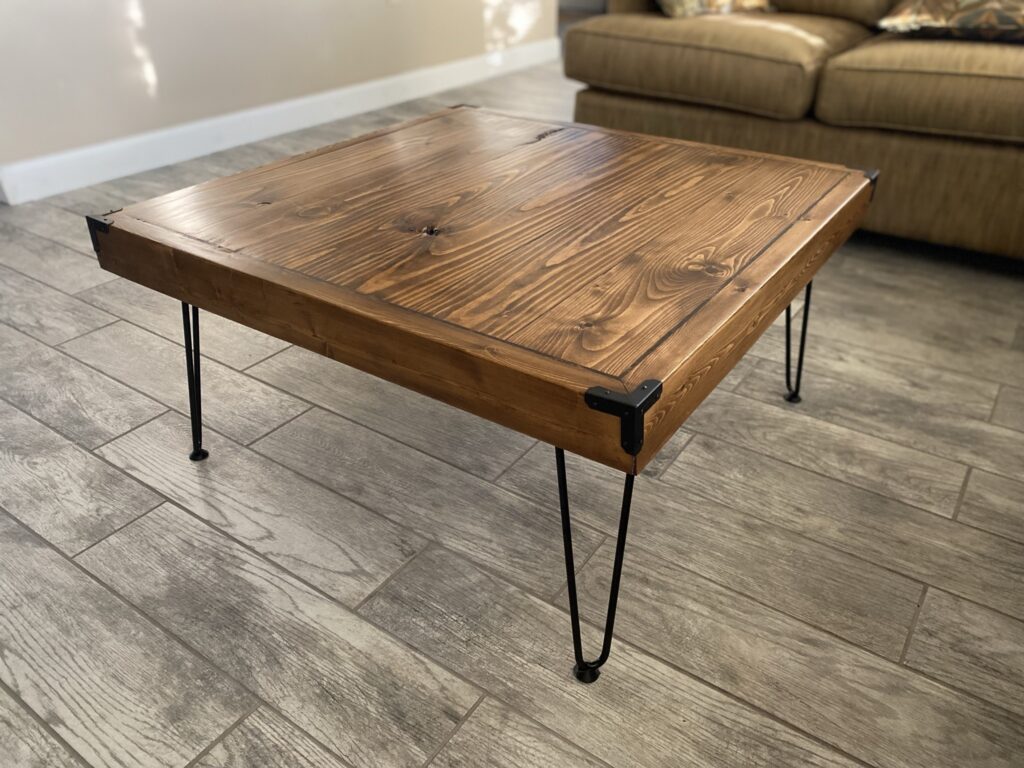
I needed a coffee table – pure and simple. That was the motivation behind this table. Nick and I wanted it rustic style so we used a stain I found at The Home Depot, I believe it’s called Early American and I was a little worried about it but, it turned out great! I love how the grain pops in the wood. We found the hair pin legs on Amazon, I think they were about $30.
Special thanks to the women at Shanty to Chic for the great instructions! They do a ton of stuff and it all looks great!
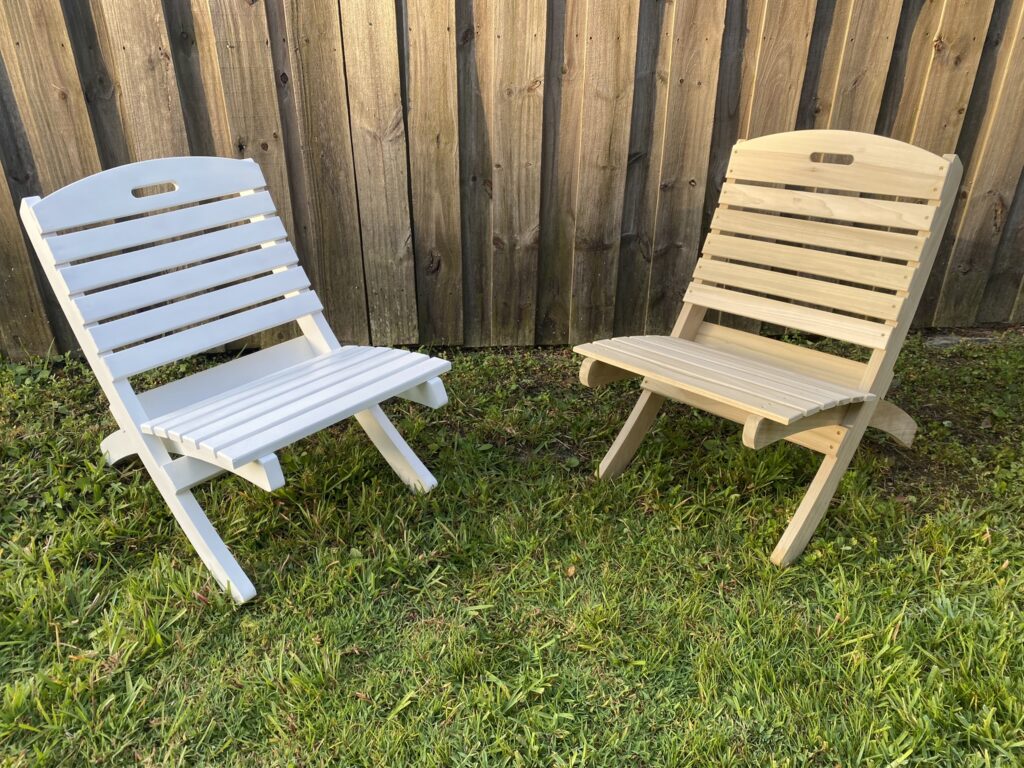
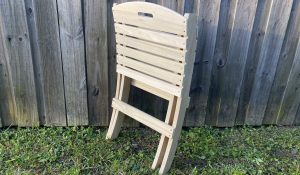
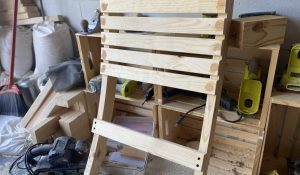
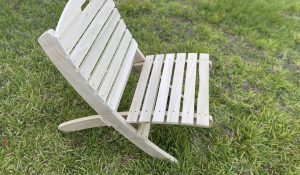
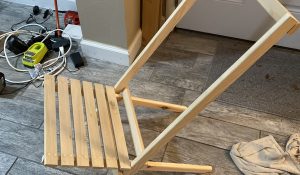
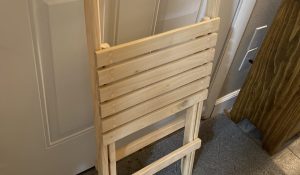
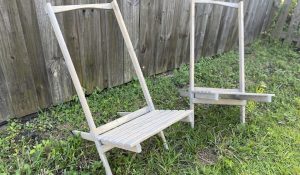
Nick and I wanted to build something that would make people look twice. If you live in Florida and you have a dock, you need one of these chairs! These chairs are super confortable and carrying them is a breeze. The backrest acts as a carrier for the seat and slides right in.
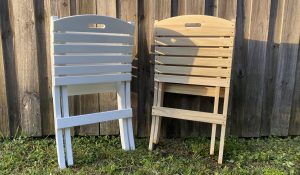
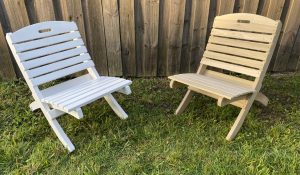
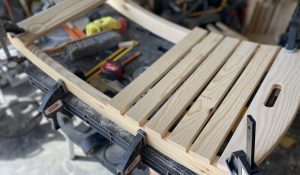
The first one we made was made out of pine. We put a ton of paint on it and it’s ready for use. The next one we built we built it out of poplar. Poplar is a lot denser, therefore, stronger than pine. It made the chair a lot lighter and you can feel it’s just as strong as the thicker pine. Take a look at the photos below on how we built it and how they fold into each other.
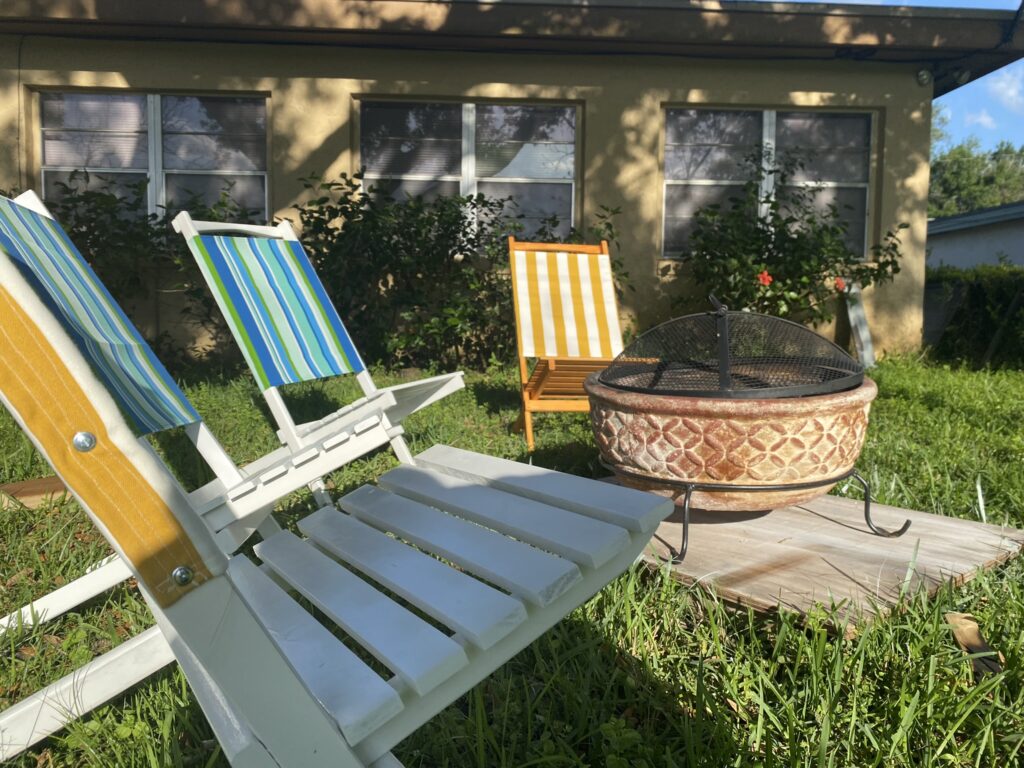
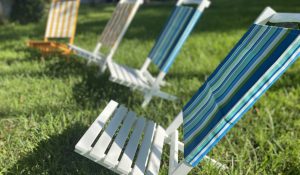
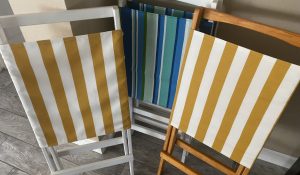
These light weight beach / camp chairs are great for acampfire or the beach. Just like the dock chair above these chairs slide in to each other for easy transportaion. I have to say I was a little rusty on my sewing skills but trust me guys, if you’re single, grab a puppy, go to Joann’s Fabric Store and take that little chick magnet in there with you. That’s all I’ve got to say on that.
Any who, the people at Joann’s pointed me in the right direction. Thank you Barbara! Outdoor canvas with the correct thread was in order for these beach chairs. I’ve been using mine for 6 months now and no issues at all. Nick and I had a good time choosing the fabric and I think our next ones will be a patriotic theme. A little red, white and blue! Have a great summer!
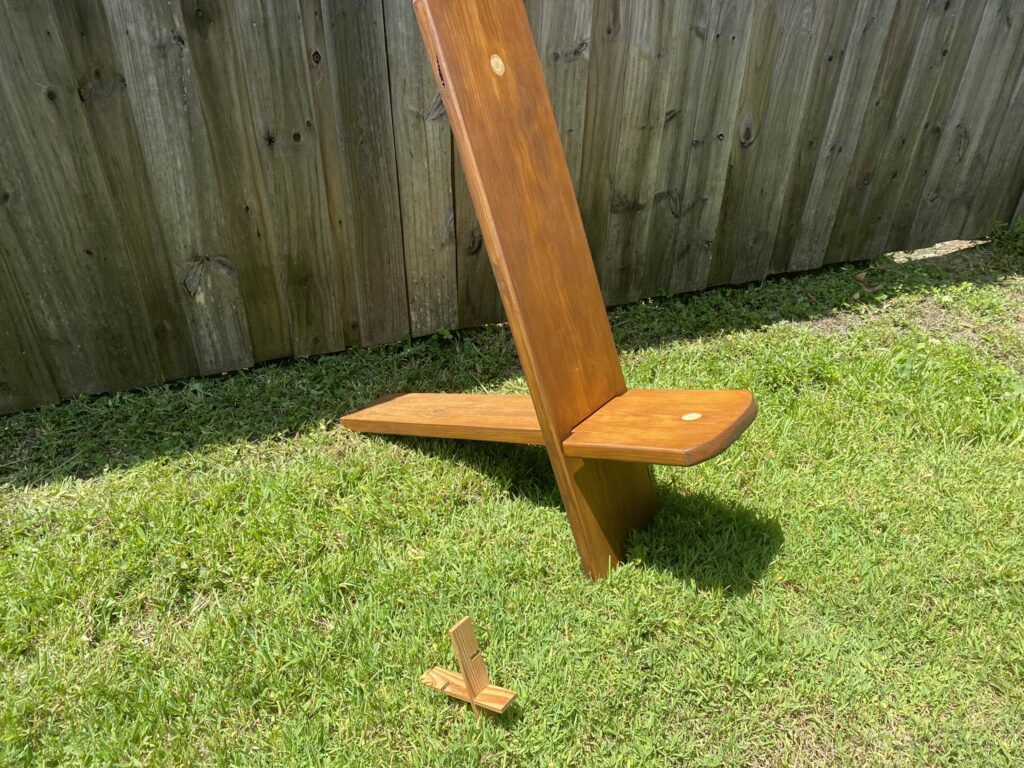
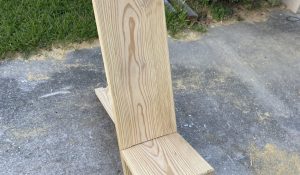
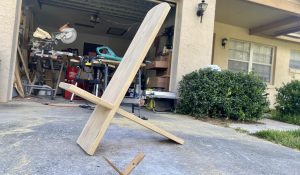
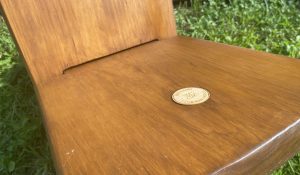
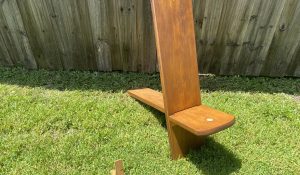
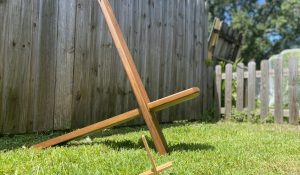
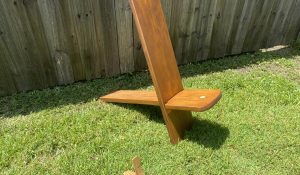
The chair you see on your left is considered to be a viking chair. Unfortunately this is a misconception. I just watched Vikings on Amazon and Nick and I decided we are still going to refer to these as Viking Chairs. They look perfect for a campfire in Scandanavia so that works for us! Apparently, it looks like these chairs actually originated from Africa in the 19th century and became more popular in the 20th century…whatever :).

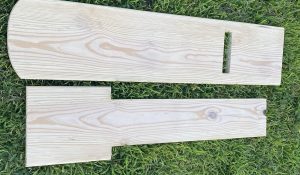
Now that the history lesson is over. The reason we wanted to build this chair was because a friend of Bruce’s (thanks Todd!) gave Bruce 2 little pieces of wood that slid in together. Both Bruce and I thought that there was something here. Bruce did some research and indeed, this was a chair. One of the pictures in the slider shows the little pieces of wood that Todd gave Bruce.
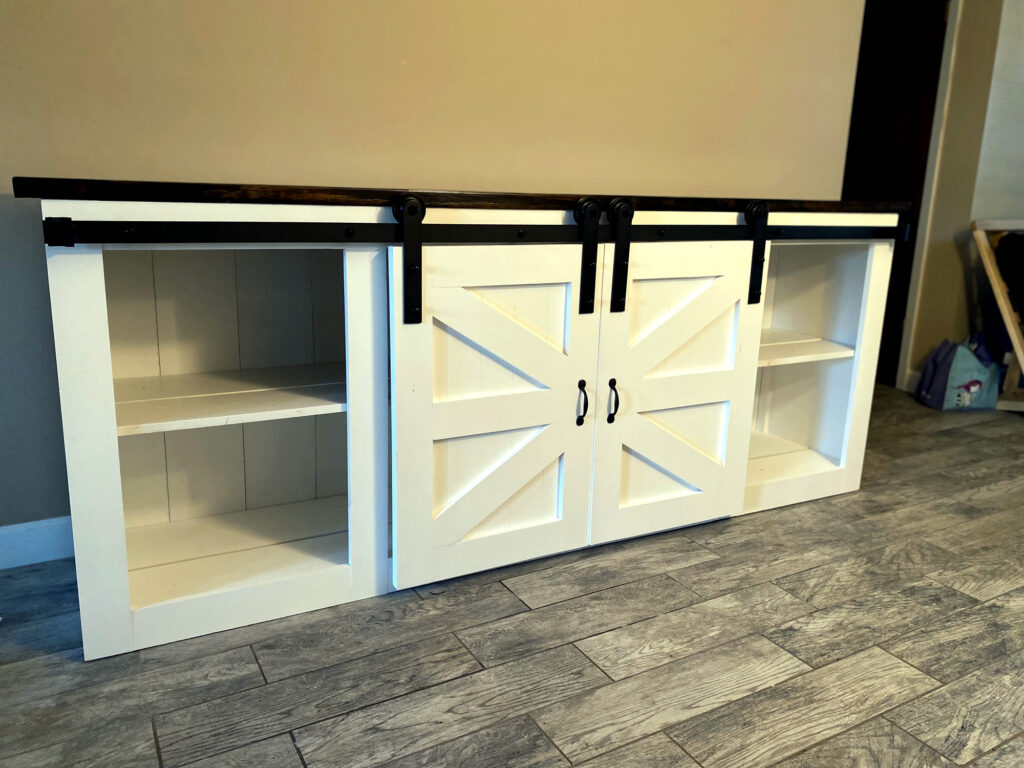
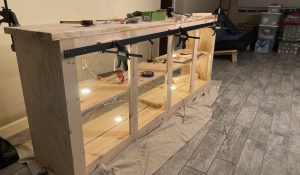
Here’s another piece of furniture that Nick and I found that I needed due to my predicament. I researched online and I found that I was interested in trying to build this for myself. It was Nick’s idea to find a way to incorporate lighting in it and I think it came out really well. We have created 3 of these pieces so far and would love to create more.
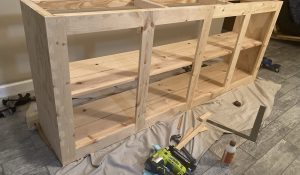
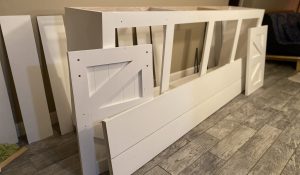
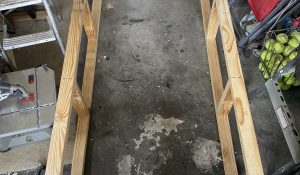
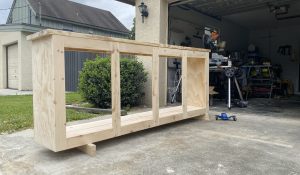
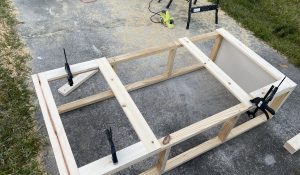
We purchased the hardware from Amazon and after a little bit if research I found it was a better idea to have this hardware in hand BEFORE creating the framework. We have created 2 units at 6 feet long and one was created at 96″ long. We wanted the hardware to run flush with the cabinet which is why we waited for it and made our mearsurements based on that.
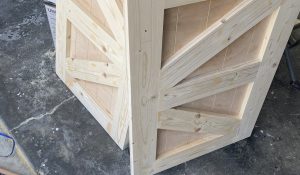
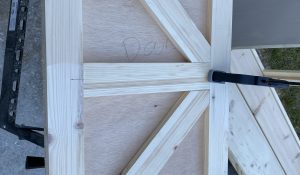
The barn-style doors was a little tricky at first but in the end we were able to create a sort of jog to help us with the angles. We primed the cabinet and then used a white cabinet enamel that will help protect the piece. The lights proved to be a bit of a challenge but a quick Facetime call to my friend Martin Houle and we were able to design a hidden compartment to house all the neccessary components. Take a look at how we made that happen. Here’s a video of how the Barn-Style Entertainment piece was created here.
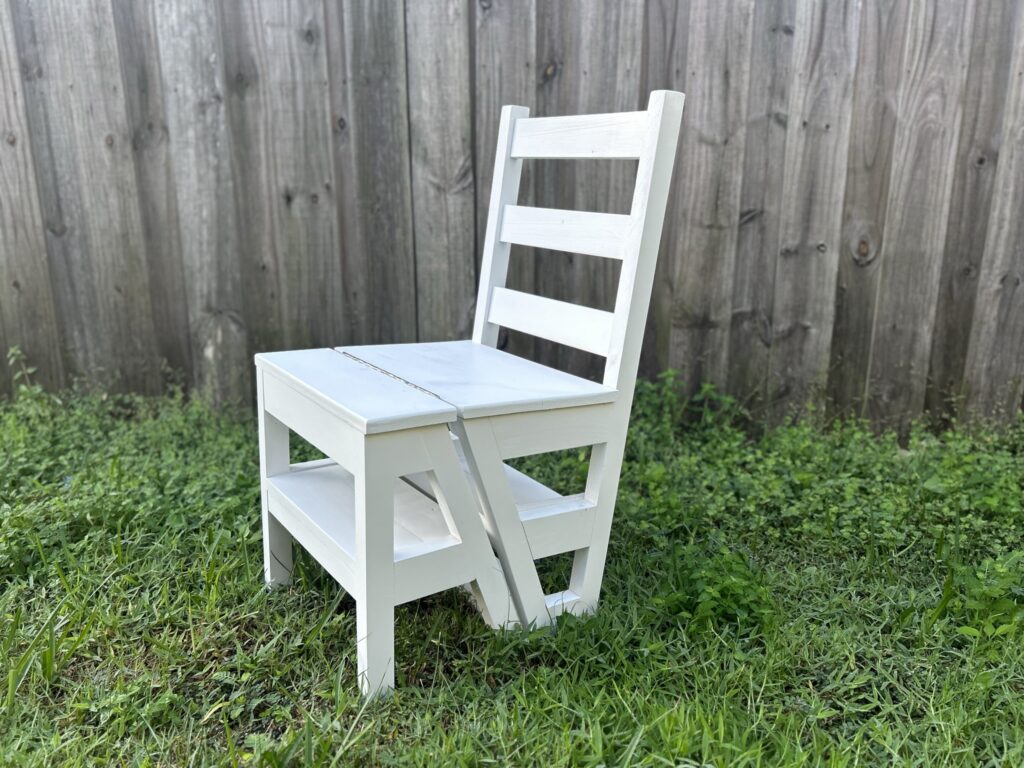
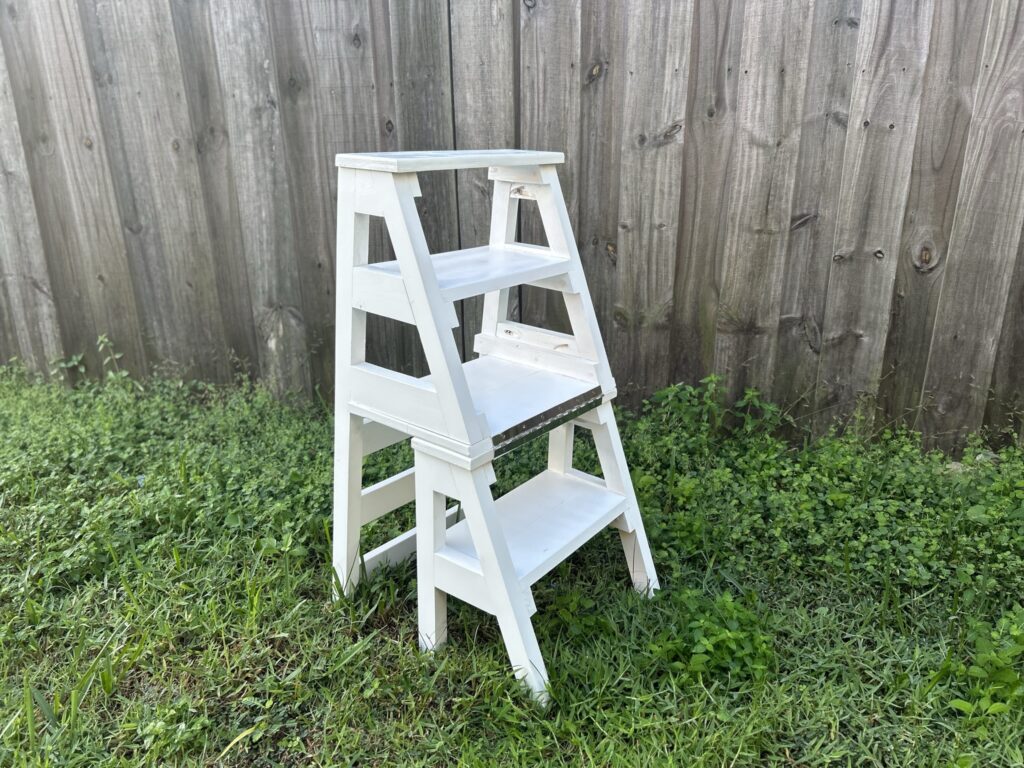
We have received multiple requests for this amazing design from none other than Benjamin Franklin. He created this design in the 1700’s when he reportedly wanted to access books higher in his library. Mr. Franklin also invented the rocking chair…hmm, definitely an idea for another project.
The creation of this chair took quite a while with all the angles and cuts that needed to be done but it was a wonderful challenge. Putting it together was fun and after putting the last screw in for the hinge was a great feeling when we found out it actually worked!
Let us know if you would like one!

